How Freeze-Thaw Weather Damages Chimneys in Portland
How Freeze-Thaw Weather Damages Chimneys comes down to one process: water soaks into brick and mortar, freezes and expands by about nine percent, then thaws and leaves the masonry a little weaker than before. Over many winters, that repeated pressure cracks brick, crumbles mortar and opens the door to leaks. Your chimney sits higher and more exposed than any other part of your house, so it feels the weather first.
If you live in the Portland area, you may assume this only happens in places like Minnesota or Maine. It does not. Our wet winters and sudden cold snaps create exactly the conditions masonry struggles with.
What Is a Freeze and Thaw Cycle?
A freeze and thaw cycle happens when the temperature drops below 32°F and then rises above it again. Brick and mortar are porous, so they absorb rain like a sponge. When water inside the masonry freezes, it turns to ice and pushes outward on the surrounding material. When the ice melts, it leaves behind tiny cracks that fill with more water the next time it rains.
How much harm a single cycle does depends on three things: how saturated the masonry is, the quality and age of the brick and mortar, and how hard and how fast the temperature falls. In most cases, freeze thaw chimney damage builds up gradually through repeated cycles. In severe conditions, such as soaked, weak brick hit by a hard freeze, even one cycle can cause visible damage.
Why Portland Chimneys Are Not Safe from Freeze and Thaw Damage
Portland rarely gets the long, deep freezes of the Midwest. What we get is different: months of steady rain, followed by short, sharp cold spells. Your chimney can stay soaked for weeks, then temperatures dip overnight and rise again by afternoon. Brick that is already saturated has the most water available to freeze.
Add the occasional ice storm, cold east wind from the Columbia River Gorge, and the moss and algae that thrive in our damp climate, and the setup gets worse. Moss holds water against the brick long after the rain stops. Knowing How Freeze-Thaw Weather Damages Chimneys in our region helps you see why even a modest cold snap can cause trouble when the masonry is already waterlogged.
How the Damage Happens, Step by Step
Here is the usual order of events, from the first sign to a major repair.
- Water enters. Rain and melting snow seep through hairline cracks, worn mortar joints, a damaged crown or gaps around the flashing.
- Ice forms inside the masonry. Cold weather freezes the trapped water, and it expands.
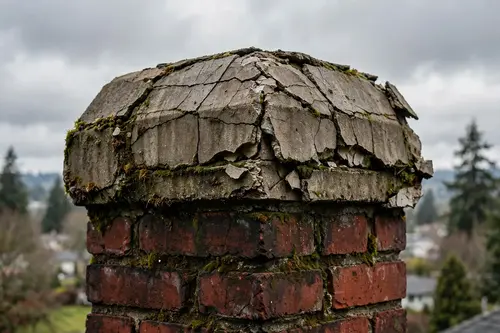
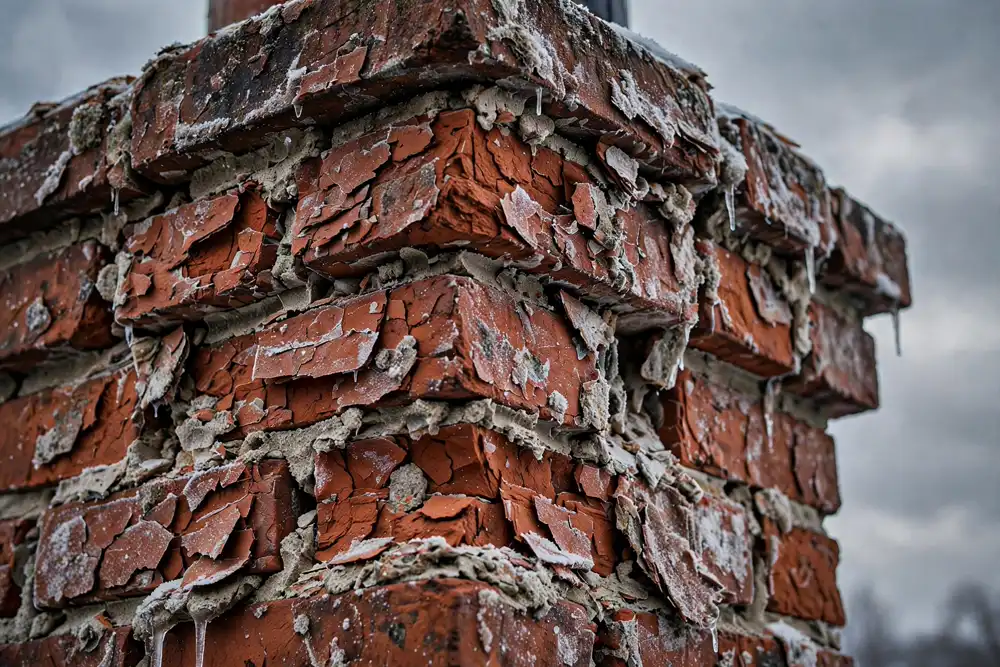
- Brick spalling begins. The face of the brick flakes, pops or peels off.
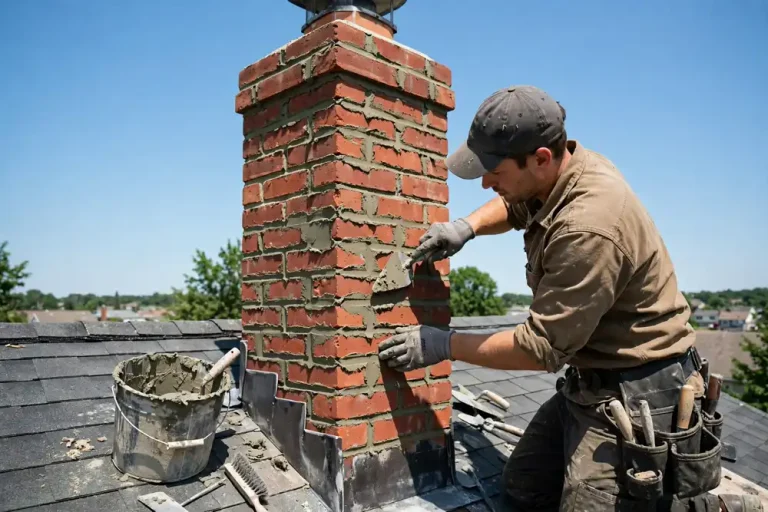
- Mortar breaks down. Deteriorating mortar joints crumble and recede, which opens more paths for water. Repairing this is called tuckpointing or repointing.
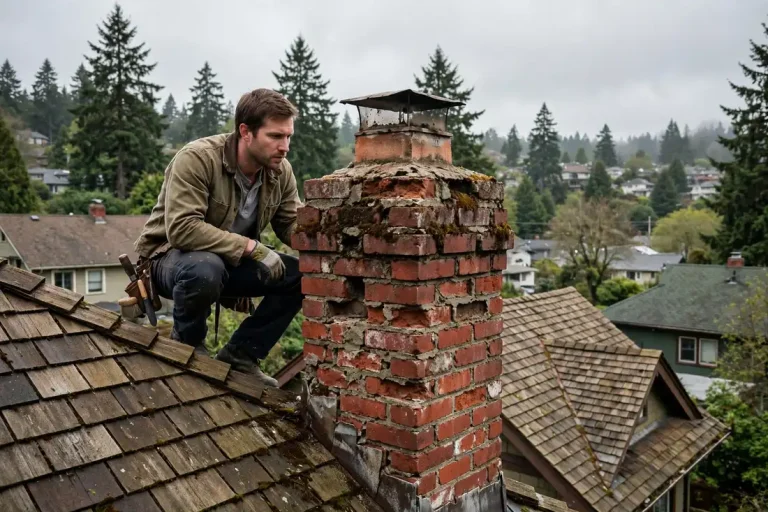
- Structure weakens. Bricks loosen, the stack can start to lean, and in severe cases sections can fail.
- Water reaches the inside of your home. Leaks show up as stains, peeling paint, musty smells or damaged ceilings near the fireplace.
Repeated freezing is one reason spalling bricks appear on Portland chimneys, though it is not the only one.
The Weak Spots Freeze and Thaw Attacks First
Not every part of a chimney fails at the same rate. These areas usually go first.
The chimney crown. This is the cement slab on top that sheds water away from the bricks. Chimney crown cracks let water travel straight into the stack. A flat crown with no slope or overhang makes the problem worse.
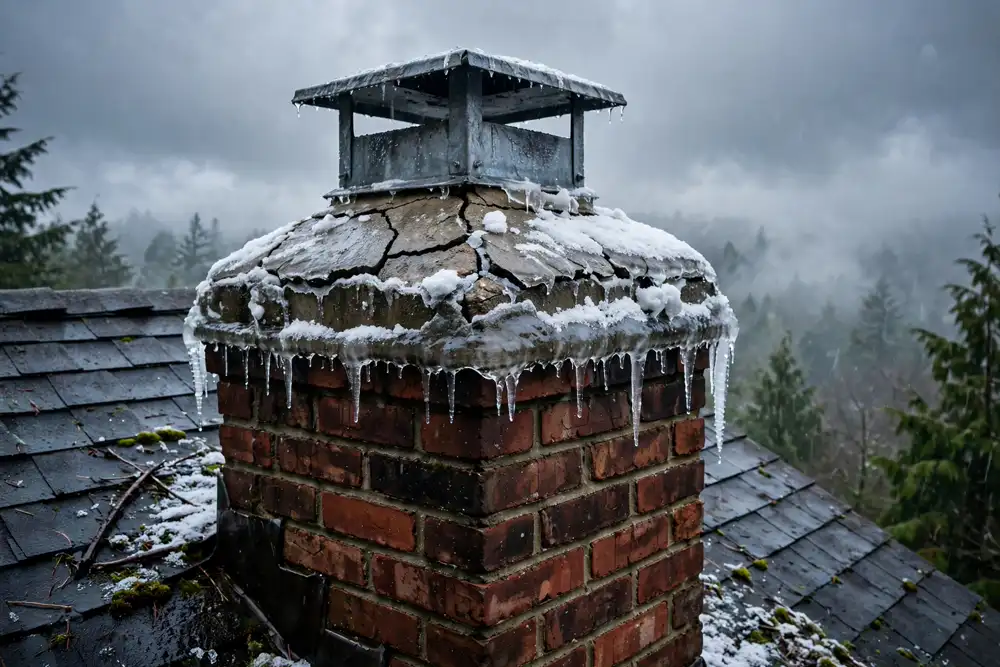
The chimney cap. A metal cap keeps rain out of the flue and stops animals from nesting inside. Without one, water runs down the flue and soaks the liner and masonry from the inside.
Mortar joints. Mortar is usually softer than brick, so it tends to wear away first. Open joints act like small funnels for water.
Flashing. This is the metal seal where the chimney meets the roof. Chimney flashing leaks are among the most common sources of water entry, especially when the metal is rusted, loose or poorly sealed.
The flue liner. A cracked or deteriorated liner can let combustion gases and excess heat reach nearby combustible materials, which can raise the risk of fire. Not every crack means heat is escaping, but a damaged liner should always be checked. The National Fire Protection Association publishes NFPA 211, the standard covering chimneys, fireplaces and vents, which is a useful reference for safe chimney maintenance.
Warning Signs Homeowners Can Spot
You do not need to climb on the roof to notice problems. Walk around your home and look for these signs.
- Pieces of brick or masonry flakes on the ground, roof or in your gutters
- White powder on the brick, called efflorescence, which suggests water is moving through the masonry
- Gaps, cracks or missing mortar between bricks
- Rust stains near the top of the chimney or around the flashing
- A chimney that looks like it is leaning
- Damp patches, odors or stains on walls and ceilings near the fireplace
- Green moss or algae growing on the bricks
A pair of binoculars from the ground works well for a first look. If you notice two or more of these signs, schedule a professional inspection before the next cold stretch. For more detail on repair options, see our guide on Brick Chimney Repair and our Complete Homeowner’s Guide to Chimney Repairs.
How to Protect Your Chimney from Freeze and Thaw Damage
Prevention is far cheaper than rebuilding. The goal is simple: keep water out of the masonry.
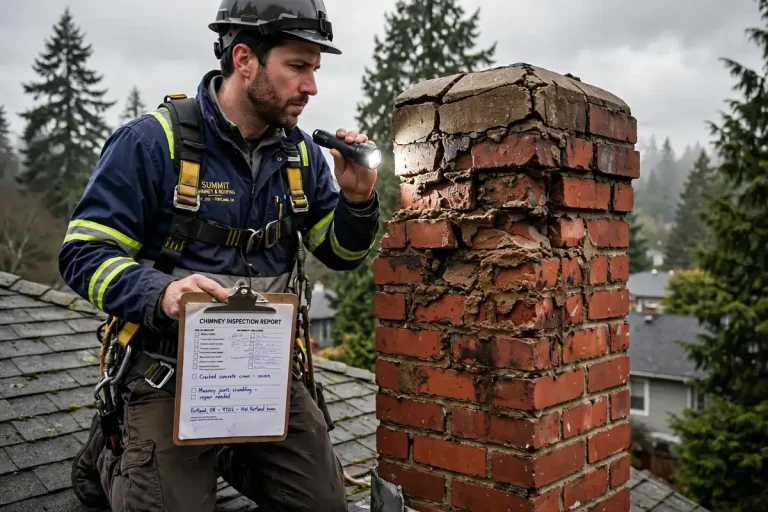
schedule a chimney inspection Schedule an annual inspection. A qualified chimney sweep can check the stack, crown, cap, flashing and liner. A Level 2 inspection with a camera scan is recommended in certain situations, such as after a storm or other event that may have caused damage, when you suspect hidden problems, or when you change the system or sell the home. It is not automatically required for every older chimney.
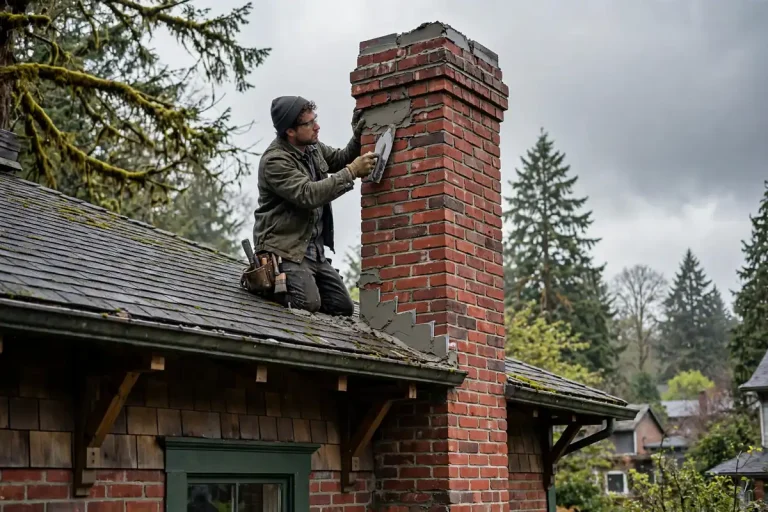
Repair small cracks early. Sealing a hairline crack in the crown costs far less than rebuilding it. Repointing a few failing joints costs far less than rebuilding a leaning stack.
Install or replace the chimney cap. A properly sized stainless steel cap is one of the simplest and most effective defenses.
Rebuild or repair a failing crown. A sloped crown with an overhang sends water away from the brick.
Fix underlying defects first. Repair cracks, open joints and failed flashing before considering any surface treatment, since a coating over damaged masonry can trap water inside the brick and make freeze and thaw damage worse.
Fix the flashing. Replace rusted or lifted flashing and seal it properly so water cannot run behind it.
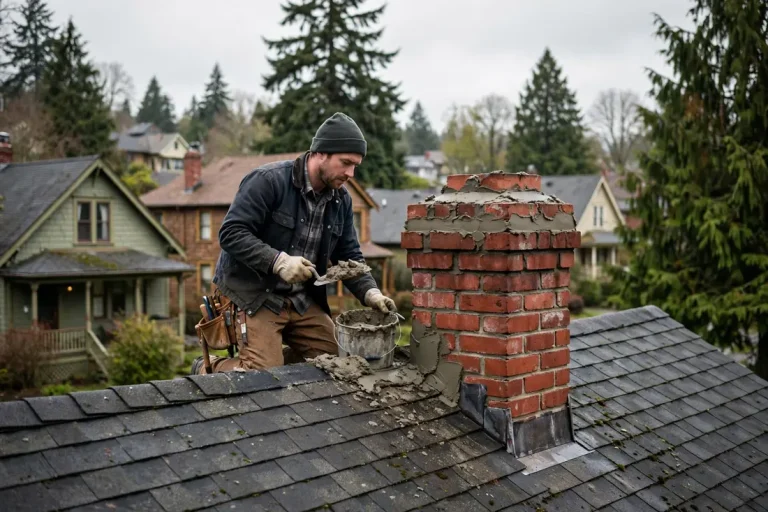
Clean moss and algae carefully. Choose a cleaning method that suits the condition of your masonry. Gentle cleaning is usually safer, and high pressure washing can blast mortar out of joints and cause more damage.
DIY or Professional?
Small tasks, like looking for visible damage from the ground, are fine for homeowners. Work on the roof or the chimney itself is riskier. If bricks are loose, the chimney leans, you see heavy spalling, or you have a leak you cannot trace, it is time to call a qualified chimney company. To weigh your options, read our article on DIY Chimney Repair vs Hiring a Professional.
Frequently Asked Questions
The Bottom Line
How Freeze-Thaw Weather Damages Chimneys is a slow and quiet process, but it is also one of the most preventable causes of masonry failure. Keep water out, repair small cracks while they are still small, protect the crown and cap, and have your chimney inspected every year. If you are not sure what condition your chimney is in, Portland Chimney Care can inspect it, explain what they find in plain language and recommend the repairs that are actually needed.