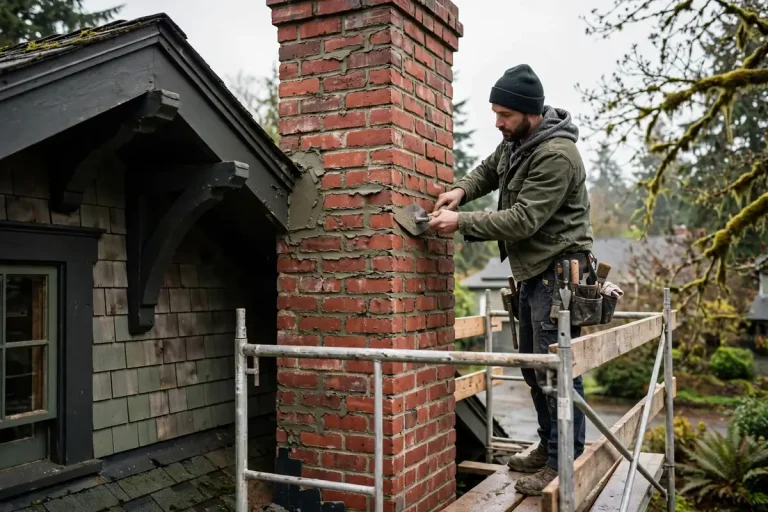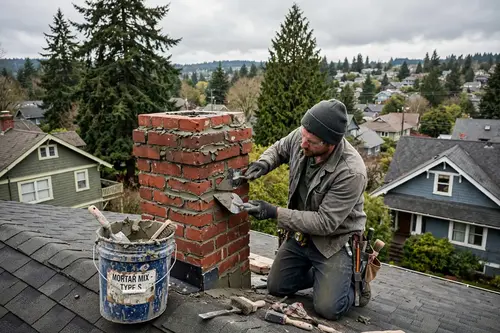
How to Repair Loose Chimney Bricks: A Practical Guide for Portland Homeowners
How to repair loose chimney bricks comes down to three moves: remove the failing mortar, clean the cavity, and set the brick back with fresh mortar that suits the original masonry. It sounds simple, but a loose brick is rarely a lonely problem. It usually means water is getting into the chimney, and in Portland, where rain shows up for most of the year, that water works quietly. This guide covers the warning signs, a safe repair method, mortar selection, typical costs, and the moments when you should stay on the ground and call a professional.
Why Chimney Bricks Come Loose
Bricks do not wiggle free on their own. Something around them gives way first.
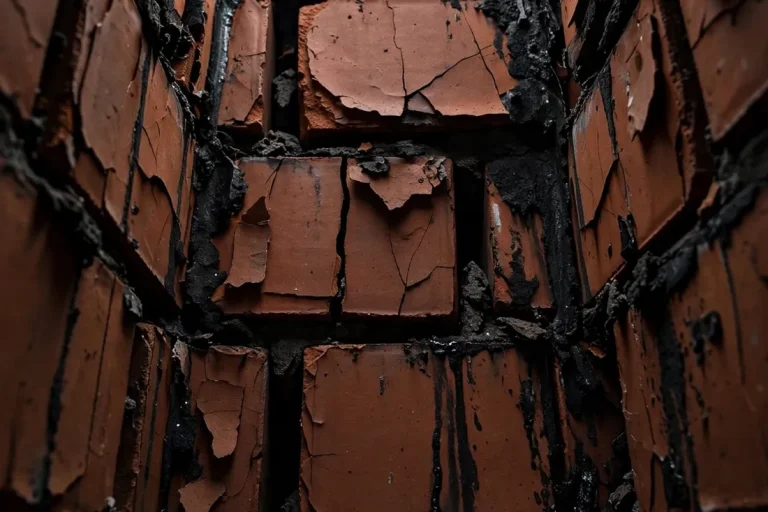
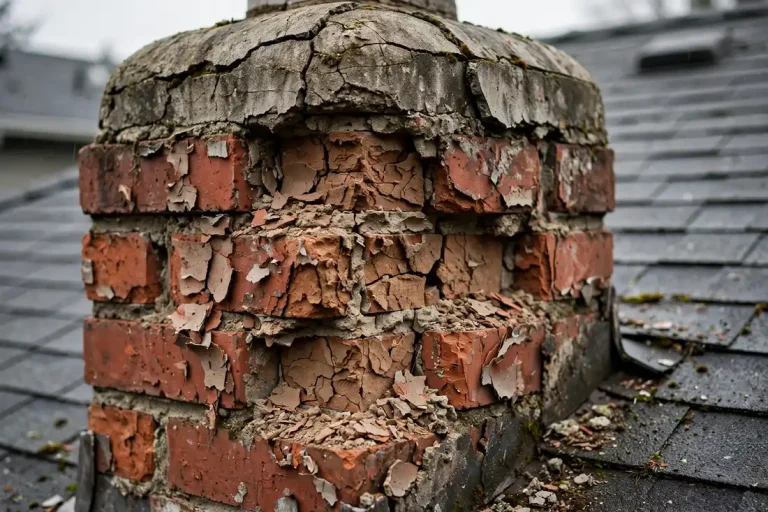
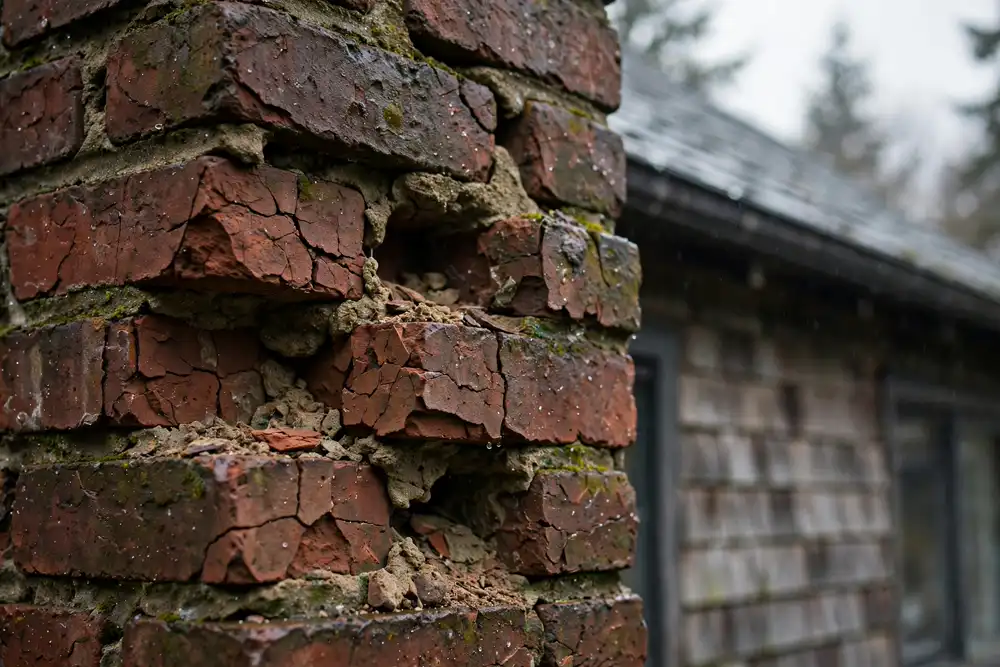
- Deteriorated mortar. Mortar is softer than brick on purpose. It absorbs movement and weather so the brick does not have to. Over decades, rain, moss, and temperature swings turn it sandy and crumbly. Once a joint empties, the brick has nothing holding it.
- Water intrusion. A cracked chimney crown, missing flashing, or a failed cap lets water soak into the stack. Wet brick expands and contracts, and the joints slowly break apart.
- Spalling. This is when the face of a brick flakes off. It often comes from trapped moisture and can appear before a brick becomes truly loose.
- Settling or shifting. A weak foundation or poorly supported chimney can stress the masonry and open gaps.
Signs Your Chimney Needs Attention
Check your chimney from the ground with binoculars. Look for:
- Mortar joints that look recessed, powdery, or missing
- Bricks that sit out of line or look tilted
- White chalky stains called efflorescence, which signal moisture moving through the brick
- Brick chips or mortar crumbs in gutters, flower beds, or on the roof
- A visible lean or gap where the chimney meets the house
If bricks are falling, treat it as a safety issue. Loose pieces can drop onto the roof, a walkway, or a person.
DIY or Professional: Know the Line
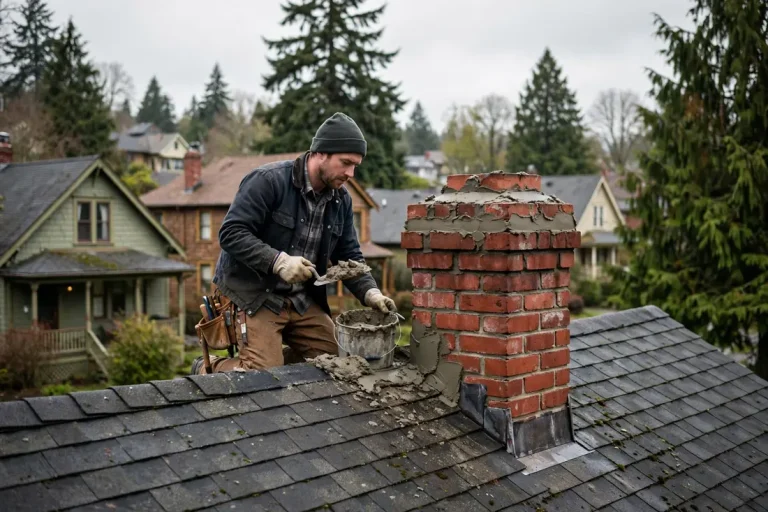
Inspecting from the ground and repairing from a roof are very different jobs. Working on a roof near a chimney carries a real risk of falls, and wet or mossy roofs make it worse. Do not attempt a DIY repair if:
- The loose bricks sit above the roofline
- The masonry feels unstable or several bricks move at once
- The chimney leans or shows cracks across multiple courses
- Roof access is steep, slick, or difficult
- Damage reaches the flue liner or firebox
A single loose brick low on an accessible chimney, such as an exposed section in a basement, attic, or garden wall, is a more reasonable DIY task.
When you hire help, remember that credentials differ. The Chimney Safety Institute of America (CSIA) certifies chimney technicians, and NFPA 211 is the standard covering safe chimneys, fireplaces, and venting systems. Certification shows training, but it does not guarantee every technician specializes in structural masonry repair. Ask whether they have hands on experience with brick and mortar work.
If the damage goes beyond a brick or two, an experienced team offering chimney repair in Portland can assess the whole stack before small problems grow.
Tools and Materials You Will Need
- Safety glasses, work gloves, and a dust mask
- Masonry chisel and a hammer
- Wire brush and a small hand broom
- Pointing trowel and a jointing tool
- Masonry mortar suited to your chimney
- A spray bottle of clean water
- A bucket for mixing
- A replacement brick, only if the original is cracked or crumbling
Choosing mortar. Mortar selection depends on more than the age of the house. The goal is a mix that is compatible with your existing brick and original mortar, and no harder than either. Mortar that is too hard can trap moisture and crack older, softer brick. Types N and S are both common, but the right choice depends on the brick, the exposure, and the structure. If you are unsure, take a sample to a masonry supplier or ask a mason, and follow the manufacturer’s instructions on the bag. Our choosing the right mortar explains the mortar types, how to match them to your brick, and what to ask your mason.
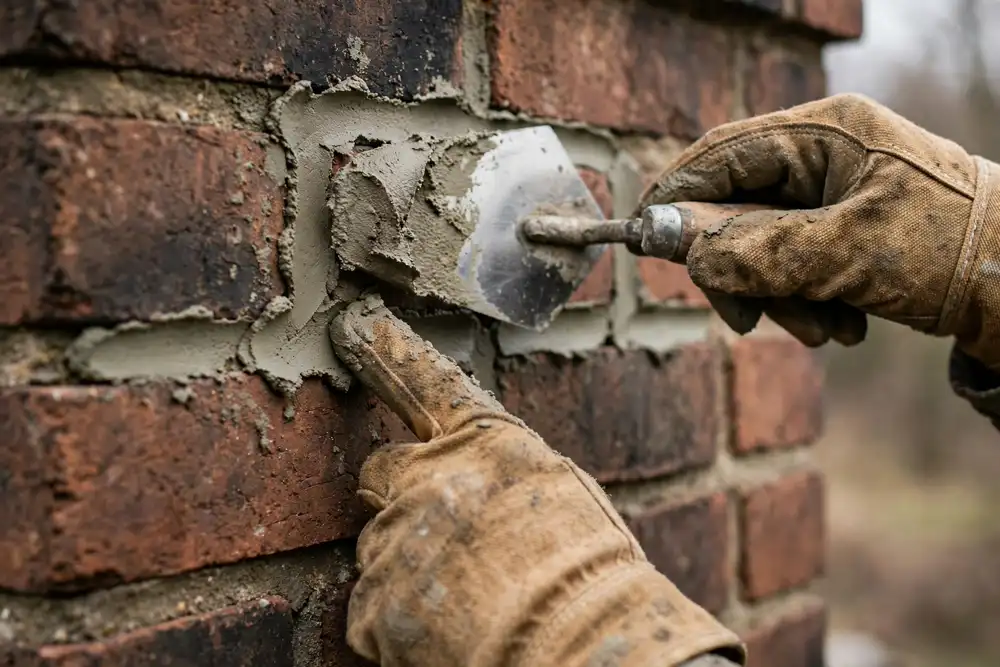
How to Repair Loose Chimney Bricks Safely, Step by Step
Work on a dry day, only where you can reach the area from stable footing.
- Test the area. Gently press the loose brick and its neighbors. If others move, stop and get a professional opinion.
- Remove the brick. Slide it out by hand if you can. If it resists, tap carefully around the edges with the chisel. Heavy hammering can crack healthy bricks nearby.
- Clear out damaged mortar. Chisel away crumbling mortar from the cavity and the surrounding bricks until you reach solid, sound material. Go only as deep as needed, and take care not to damage the neighboring bricks.
- Clean everything. Brush out dust and debris, then wipe the cavity with a damp sponge. Dust weakens the bond.
- Dampen the surfaces. Lightly mist the opening and the back of the brick so dry masonry does not pull water out of fresh mortar.
- Mix the mortar. Follow the product directions. Aim for a thick, workable texture, neither runny nor crumbly.
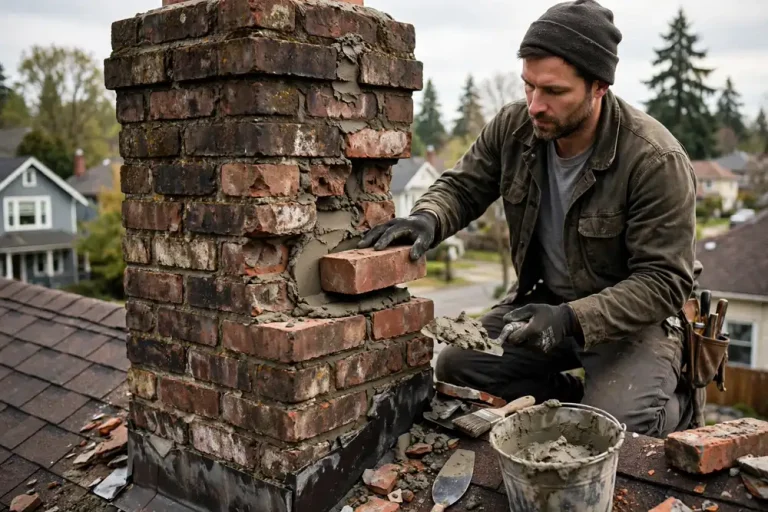
- Butter and set the brick. Spread mortar on the bottom and sides of the cavity and on the brick, slide it in, and press firmly.
- Fill the gaps. Pack mortar into any voids so the brick sits snugly with no hollow spots.
- Tool the joint. Once the mortar is thumbprint firm, shape it with the jointing tool to match the surrounding joints. A concave profile sheds water well.
- Protect the repair while it cures. Curing depends on the mortar mix, temperature, and humidity, so follow the manufacturer’s instructions. In general, shield the repair from heavy rain, freezing temperatures, and fast drying from sun or wind.
When Loose Chimney Bricks Need More Than a Simple Repair
Sometimes a loose brick is only the visible tip of a bigger issue. Widespread mortar failure often calls for tuckpointing, also called repointing, across large sections. Repeated loosening in the same spot can point to water intrusion from a cracked crown or bad flashing. Shifting, leaning, or separation from the house suggests structural movement. And if bricks crumble or the stack keeps deteriorating, partial or full chimney rebuilding may be the safer path. A professional assessment can tell you which situation you have before small repairs turn expensive. If the surrounding joints are crumbling too, tuckpointing the whole section is usually the longer lasting fix.
It also helps to know how long a chimney repair takes before you book larger work.
What Does the Repair Cost?
For one or two bricks, materials are usually inexpensive, often under fifty dollars. Hiring a pro for a minor repair commonly runs a few hundred dollars, and larger jobs involving many bricks, a crown, or partial rebuilding can climb well past a thousand. Costs vary by roof height, access, and how far the damage has spread, so request a written estimate.
Prevent Bricks From Loosening Again
- Schedule an annual chimney inspection, ideally before the wet season
- Keep the chimney crown sealed and free of cracks
- Install or repair a chimney cap to keep rain out
- Check flashing where the chimney meets the roof
- Fix the source of moisture first — repair cracks, crown damage and failed flashing before considering any surface treatment.
- Gently clear moss and debris that hold water against the brick
Frequently Asked Questions
Final Thoughts
Knowing how to repair loose chimney bricks is a handy skill, but the real win is catching the cause early. Inspect your chimney each season, fix small gaps before they grow, and keep water out of the masonry. When the damage goes beyond a brick or two, or the work means climbing onto the roof, bring in an experienced professional. A sound chimney protects your home, your family, and your wallet before the next storm rolls through the Willamette Valley.
Timing matters too — the job goes better when the weather is right for brick repairs.
Contact us to request an estimate.
Find more chimney care guides on our blog.