Chimney Mortar & Tuckpointing: What Portland Homeowners Should Know Before the Rain Settles In
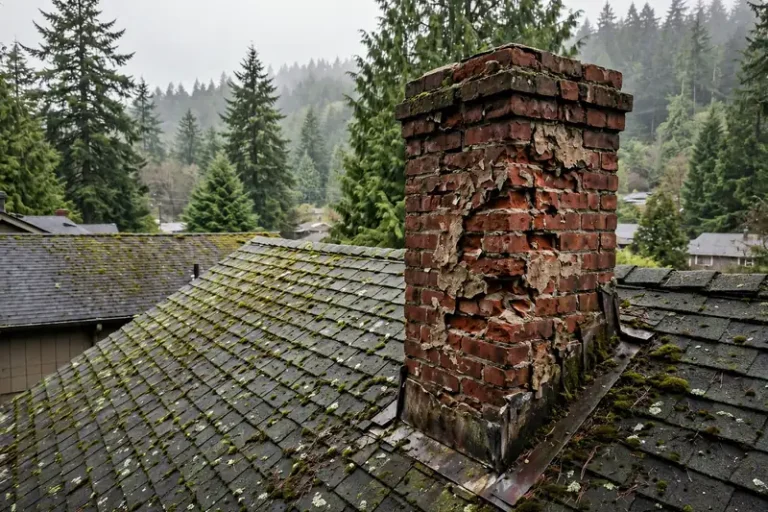
Most people look at their chimney only when something goes wrong. A damp patch appears on the ceiling, a few bricks look loose, or the fireplace smells musty after a storm. By then, the damage has usually been building for years, and the weak link is almost always the thin line of mortar holding everything together. Chimney mortar repair in Portland is especially important because prolonged wet weather can gradually weaken exposed mortar joints. Understanding Chimney Mortar & Tuckpointing helps you catch small problems early, protect your home, and avoid a rebuild that costs far more than a timely repair.
Why Mortar Fails Before Brick Does
Your chimney is the most exposed part of your house. It rises above the roofline and takes the full force of rain, wind, and temperature swings. Portland’s long rainy season keeps masonry damp for months at a time, and both brick and mortar are porous enough to soak that moisture up.
Mortar is softer than brick on purpose. It is the sacrificial layer, absorbing movement and weather so the bricks stay intact. Water slips into tiny cracks and slowly widens them. Winters here are mostly mild, but when temperatures do fall below freezing while the masonry is saturated, freeze and thaw cycles can push joints apart even faster. Add moss growth, acidic flue gases, and plain old age, and a once solid joint turns sandy and weak.
Warning Signs Your Chimney Mortar Is Giving Up
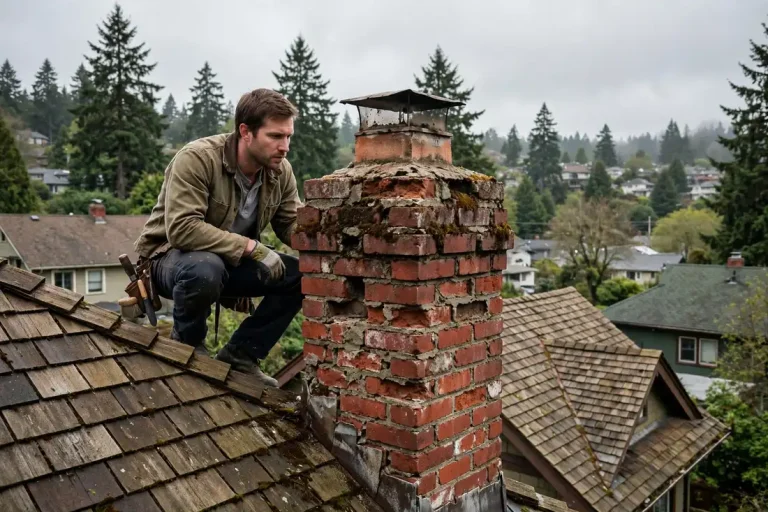
You do not need to be a mason to spot trouble. Use binoculars or zoom in with your phone camera and look for these signs:
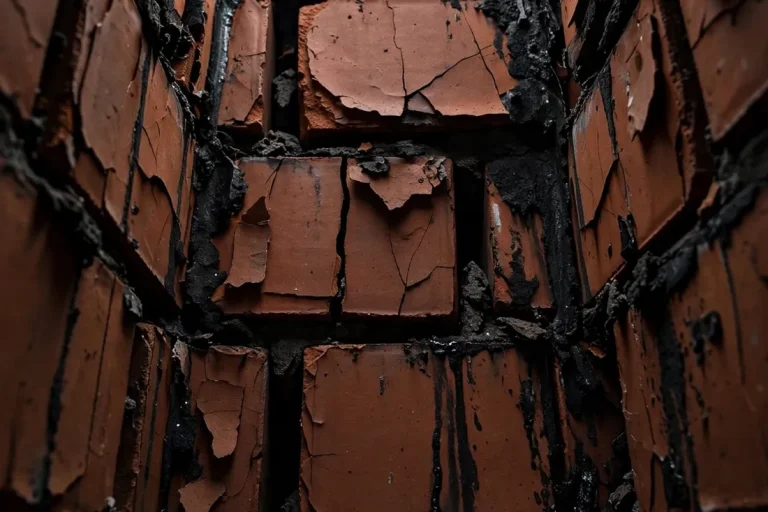
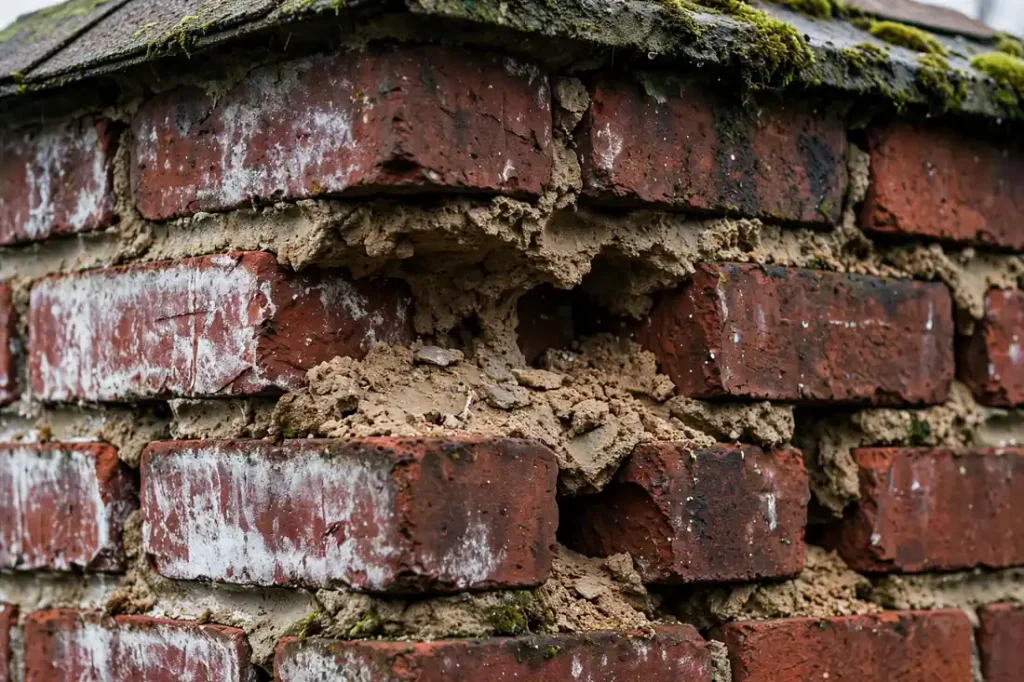
- Crumbling, sandy, or powdery mortar between bricks
- Deeply recessed joints, or gaps wide enough to slide a key into
- Loose or shifting bricks near the top of the stack
- White, chalky mineral stains on the brick face, known as efflorescence
- Flaking or peeling brick faces, a condition called chimney brick spalling
- Mortar pieces collecting on the roof, in the gutters, or in the firebox
- A chimney that appears to lean
Even one of these deserves attention. Several together usually means water is already getting in.
How Water Gets In and What It Damages
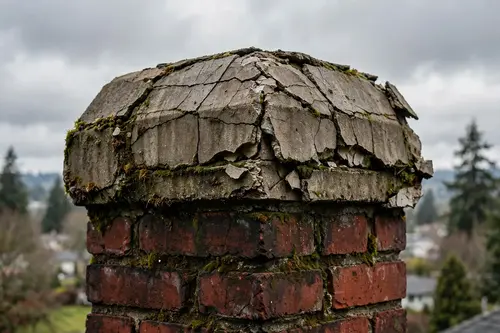
Open joints act like tiny doors. Rain enters the stack, soaks into the brick, and travels downward along the masonry and the flue liner. From there it can stain interior walls, rot the roof deck around the chimney, and corrode the metal flashing where the chimney meets the roof. A cracked crown makes things worse because it lets water pour into the top of the stack. This is why a good technician looks at the whole system, not just the joints you can see.
Tuckpointing vs Repointing: Is There a Real Difference?
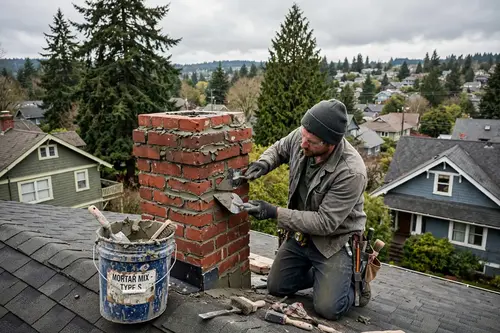
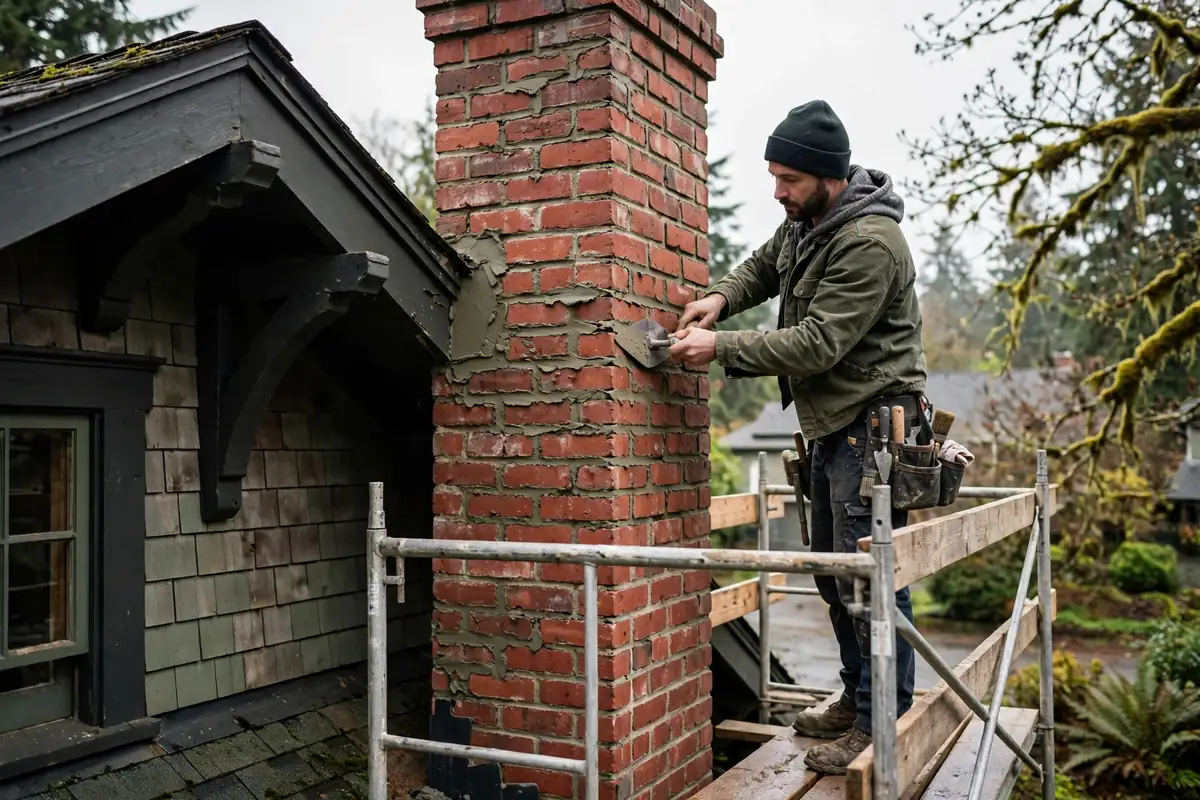
In everyday North American use, the two terms overlap heavily. Both involve grinding out damaged mortar and packing in fresh material. Repointing renews the joints so they perform well. True tuckpointing adds a thin contrasting line over color matched mortar to mimic very fine joints. For most chimneys, a skilled mason blends the new mortar into the existing color so the repair is nearly invisible.
How Professional Tuckpointing Is Done
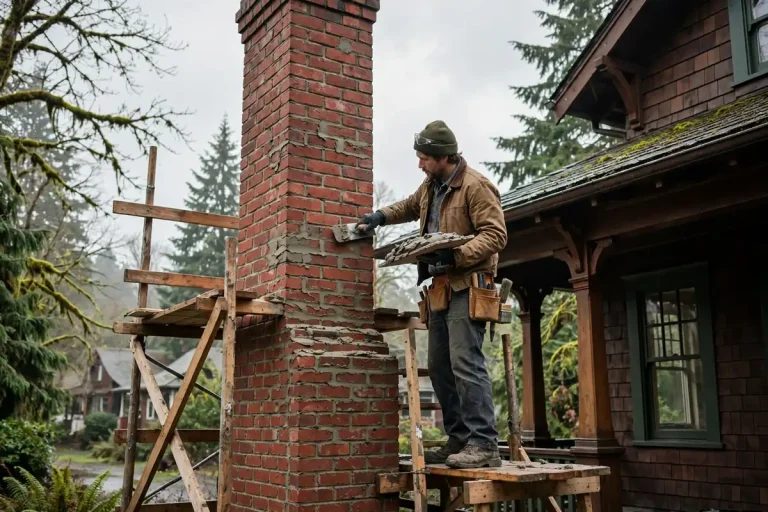
Good masonry work is slow and careful. A proper job follows this order:
- Inspection. The crew checks the stack, crown, flashing, and flue liner before touching a joint.
- Removing old mortar. Damaged mortar is typically removed to a depth of at least three quarters of an inch, or about twice the joint width where appropriate. The exact depth depends on the condition of the masonry and the repair specifications.
- Cleaning and dampening. Dust blocks a strong bond, so joints are brushed out and lightly wetted.
- Packing new mortar. Fresh mortar goes in thin layers to limit shrinkage cracks.
- Tooling. The surface is shaped to match the existing profile so water sheds instead of pooling.
- Curing and cleanup. The work is protected while it cures, then the brick face is cleaned.
Most jobs take one or two days, though tall stacks or heavy damage can take longer.
A single failing brick is a different job, and you can learn how to repair loose chimney bricks in our practical guide.
Choosing the Right Mortar for Your Chimney
Mortar should never be harder than the brick around it. When it is, the brick absorbs the stress and starts to crack or spall. The Brick Industry Association offers technical guidance on matching mortar to masonry.
Masons commonly work with a few standard mixes. Type N is a medium strength mortar that suits many exposed chimneys above the roofline. Type O is softer and often suits older, lower strength brick. Type S provides higher compressive strength, but it is not automatically the right choice for every chimney. The mortar should be selected according to the existing masonry, exposure conditions, and structural requirements. For historic homes, a lime based mortar is often preferred because it stays flexible and lets moisture escape.
Color matters too. A mason should test samples, let them dry, and compare them in daylight. Be cautious with caulk or sealant used as a shortcut. It may bridge a gap for a season or two, but it does not rebuild a joint.
Tuckpointing or Rebuild: Which One Do You Need?
Tuckpointing is enough when the bricks are sound and only the joints have worn out. A rebuild becomes the better option when bricks are crumbling throughout, the stack leans, or large sections have shifted. If you are unsure which route to take, read our guide on when to repair or replace a chimney before deciding. An honest inspection will tell you which path makes sense.
How Much Does Chimney Tuckpointing Cost in Portland?
Pricing depends on several factors, and any flat quote given without seeing your chimney is a guess. The main drivers are:
- Chimney height and width
- How much mortar has actually failed
- Roof pitch and ease of access
- Mortar type and color matching
- Whether bricks, the crown, or flashing also need repair
Always request a written estimate that spells out the scope of work. It also helps to understand how long chimney repairs last, because a durable repair often costs less over time than a cheap patch.
Can You Do It Yourself?
Technically, yes. Practically, it is risky. Working at height, grinding joints without chipping brick, and mixing mortar to the right consistency all take practice. Poor workmanship can trap water inside the chimney and make the problem worse. For anything above the roofline, hiring a professional is the safer choice.
How Often Should You Inspect or Repair Mortar?
An annual inspection catches most issues early. NFPA 211 calls for chimneys to be inspected at least once a year. Many homeowners schedule this before fire season, and it helps to know the best time for chimney repairs so work is finished before heavy rain returns. Check again after major storms, since wind driven rain reveals weak spots quickly.
Hiring the Right Chimney Professional
Look for qualified chimney professionals, proper insurance, and a written estimate. Ask which mortar they plan to use, how they match color, and whether the work carries a warranty. A reliable crew will also check the cap, crown, and flue liner instead of treating mortar as a standalone issue. Local experience counts as well, because contractors who work around Portland understand how damp conditions, moss, and older brick homes behave. That knowledge is what makes Chimney Mortar & Tuckpointing last instead of needing a second visit. If your chimney is showing any warning signs, explore our chimney repair in Portland services and schedule an inspection before the wet season sets in.
Final Thoughts
A chimney rarely fails overnight. It declines slowly, one cracked joint at a time, and the warning signs are visible long before serious damage happens. Fresh mortar, applied correctly and matched to your brick, keeps water out, supports the structure, and restores the look of your home. Staying ahead of Chimney Mortar & Tuckpointing needs is one of the simplest and most affordable ways to protect your fireplace, your roof, and your family. Book your inspection today and fix small problems while they are still small.