What Is Chimney Tuckpointing?
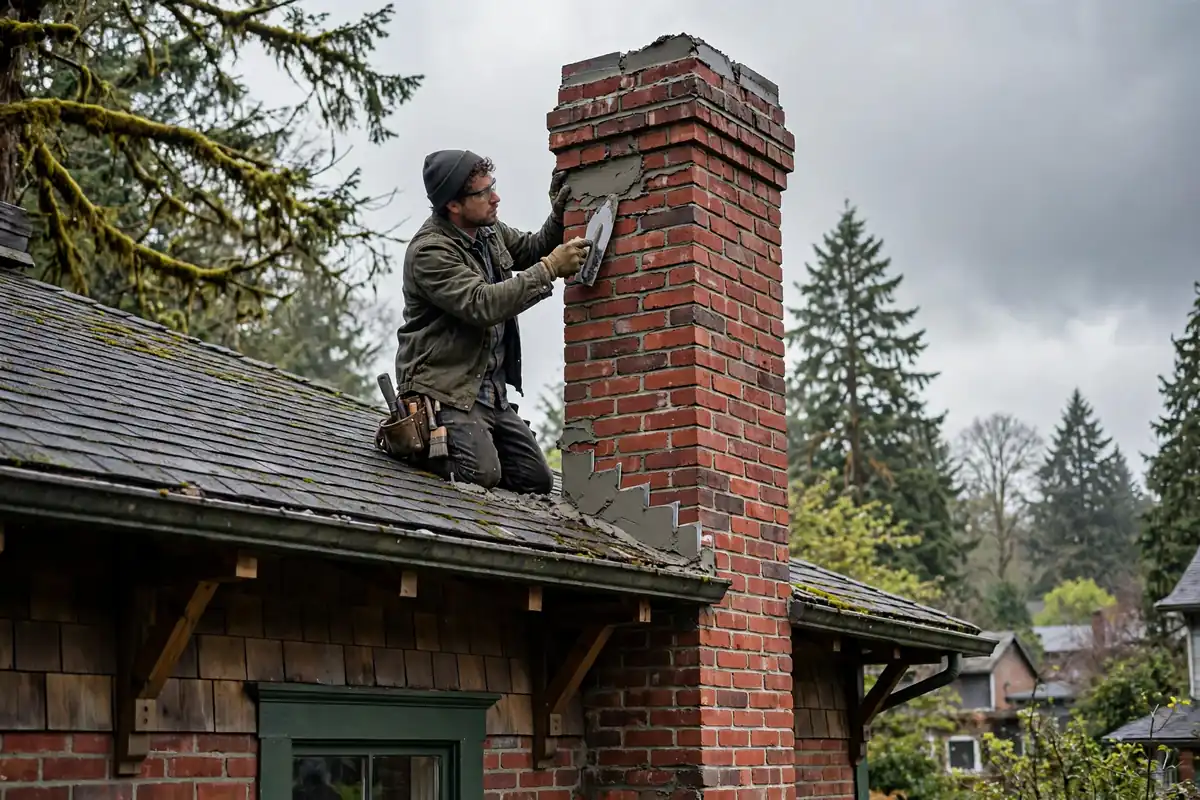
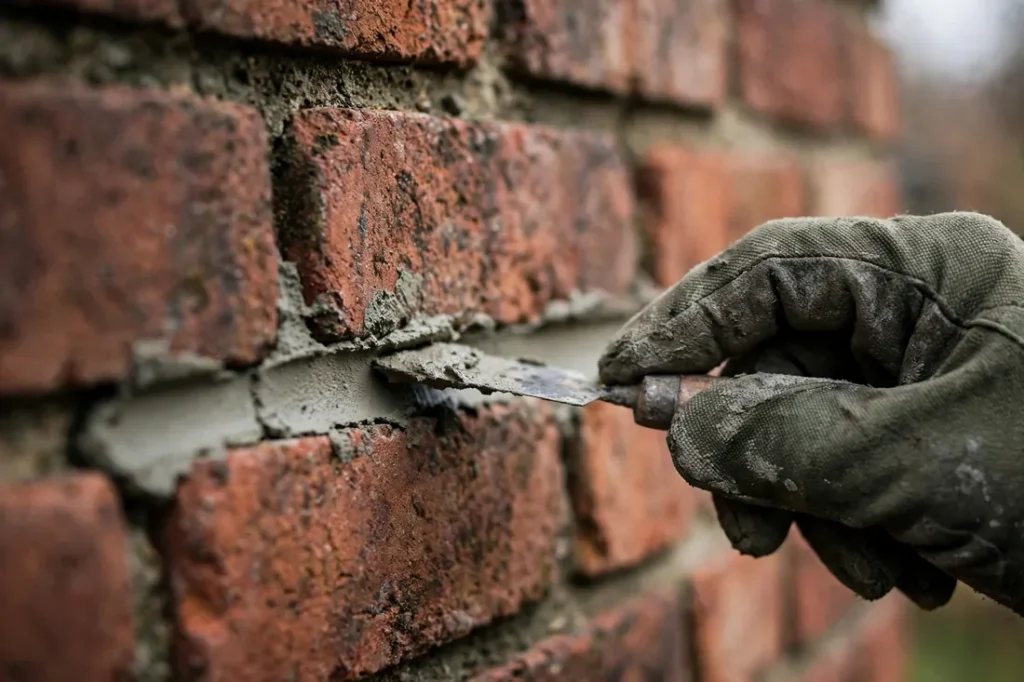
Chimney tuckpointing is a masonry repair where a mason grinds out cracked or crumbling mortar between your chimney bricks and packs in fresh mortar so the joints are weather resistant and structurally sound again. Think of it as giving your chimney a new set of seals. The bricks stay, the failing mortar goes, and the structure gets a second life.
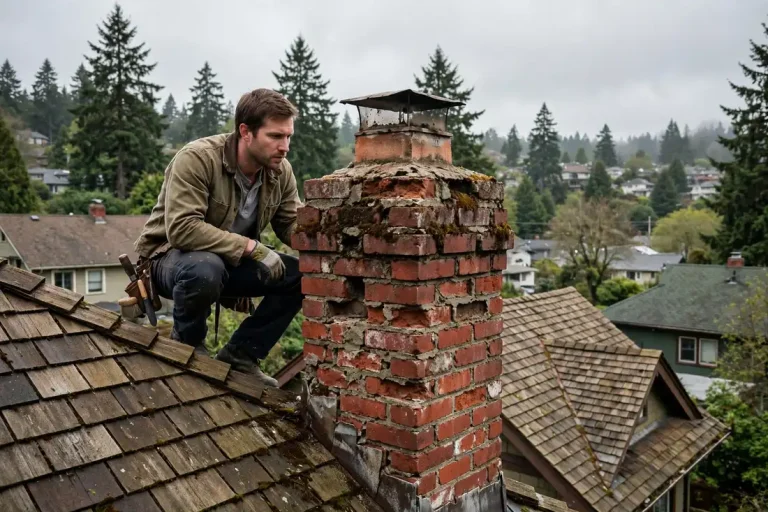
Most homeowners never look at their chimney until a leak shows up on the ceiling. By then, water has often been sneaking through tiny gaps for years. For homeowners in Portland, Oregon, regular chimney inspections are especially important because prolonged rain and moisture can gradually weaken mortar joints and allow water to enter brick masonry. This guide explains how the work is done, when you need it and how to hire the right person.
What Is Chimney Tuckpointing and Why Does Mortar Matter?
Bricks are tough, but mortar is the soft, sacrificial layer that holds them together and helps keep moisture out. Mortar is a blend of cement, lime and sand, and it is designed to wear away slowly so the brick does not have to. Over decades, rain, wind, sun and temperature swings break it down.
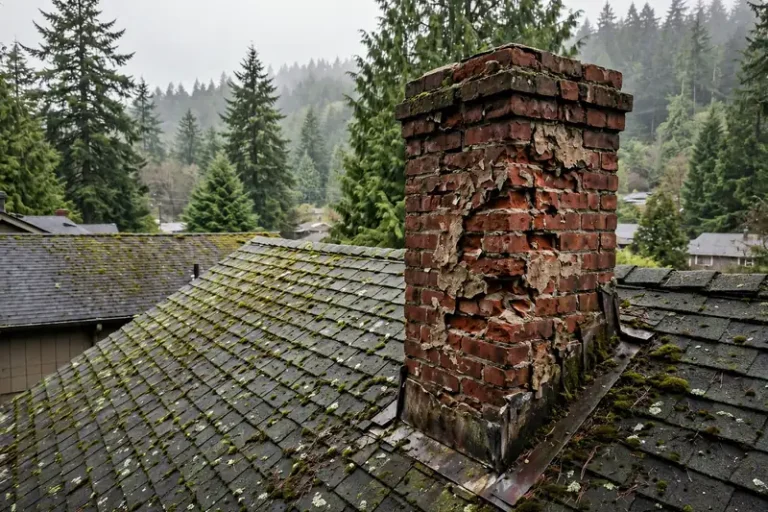
Once mortar joints crack or recede, water gets inside the masonry. In cold weather that water freezes, expands and pushes bricks apart. This freeze thaw cycle is one of the biggest reasons chimneys lean, shed brick faces or let moisture into the attic. Fixing worn joints early is the heart of chimney mortar repair.
Tuckpointing vs Repointing
You may also hear the term chimney repointing. In everyday use, the two overlap. Repointing means replacing old mortar. Traditional tuckpointing is a finer version that uses two mortar colors, one matching the brick and a thin contrasting line on top for a crisp, decorative finish. Many contractors in North America simply use tuckpointing to describe the whole mortar replacement job, so do not be surprised if your estimate uses either word.
Signs Your Chimney Needs Tuckpointing
You do not need to climb on the roof to spot trouble. From the ground, a pair of binoculars can show a lot. Watch for these signs of mortar damage:
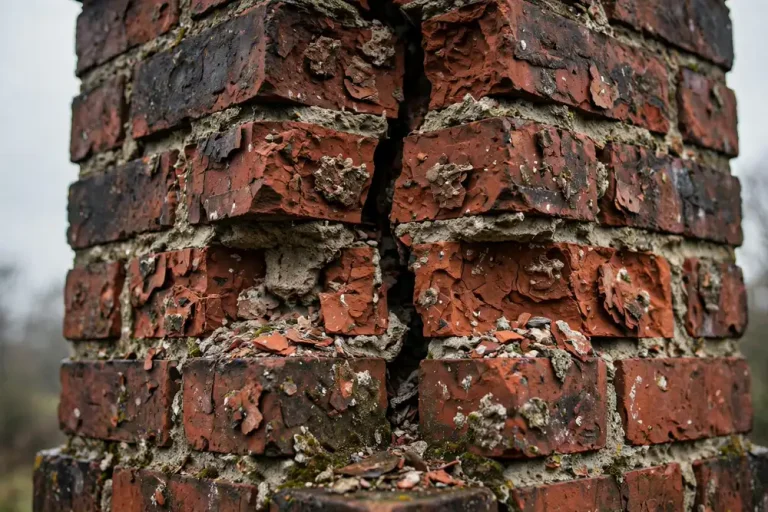
- Mortar that looks sandy, powdery or recessed deeper than a quarter inch
- Visible cracks running along horizontal or vertical joints
- Loose, shifting or missing bricks
- White chalky stains on the brick, known as efflorescence, which signal moisture moving through the wall
- Flaking or crumbling brick faces, a problem called chimney brick spalling
- Moss or dark growth that keeps returning
- Water stains on the ceiling or walls near the fireplace
- Pieces of mortar landing in the firebox or on the ground below
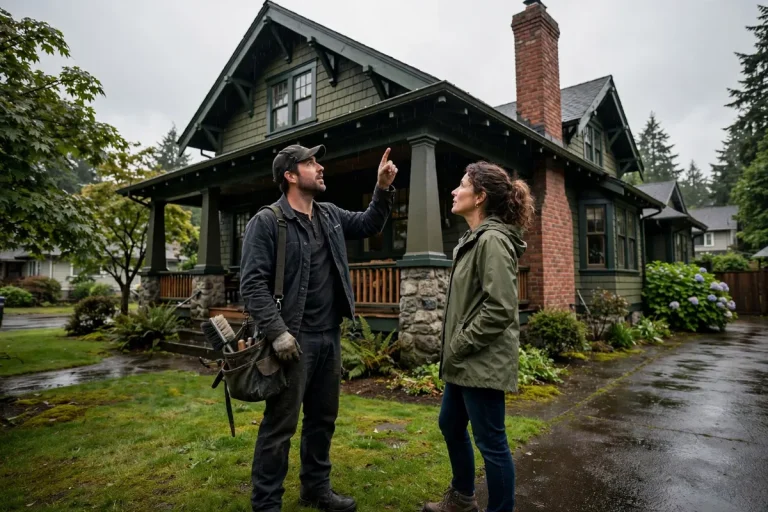
If you notice even one of these, schedule an inspection. A qualified chimney professional or an experienced, licensed and insured masonry contractor can inspect the chimney and identify whether mortar repair, brick replacement or additional structural work is needed. If you are unsure how serious things look, review these signs of an unsafe chimney.
How the Tuckpointing Process Works
Knowing the steps helps you judge whether a contractor is doing it properly. A quality chimney mortar replacement job usually follows this order.
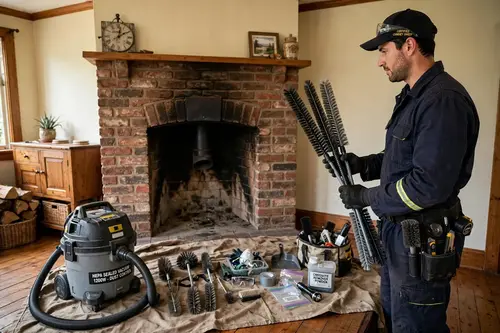
- Inspection and planning. The mason checks the brick, the crown, the flashing where the chimney meets the roof and the cap. Tuckpointing will not last if water is also entering from a cracked crown or loose flashing.
- Mortar removal. Using hand chisels or a grinder with a dust shroud, the mason removes old mortar to a depth of about two to two and a half times the joint width. Going deep enough is what makes the repair last. Shallow work is one of the most common reasons cheap repairs fail early.
- Cleaning. Dust and debris are brushed or rinsed out so the new mortar can bond.
- Mortar matching. This step is where craftsmanship shows. Older chimneys and historic brickwork often require a softer, lime rich mortar that is compatible with the original materials. The correct mortar should be selected based on the brick’s condition, the original mortar composition and the age of the building. Using mortar that is too hard can damage the surrounding bricks over time. Color and texture are matched so the repair blends in.
- Filling and tooling. Fresh mortar is pressed into the joints in thin layers, then shaped with a jointing tool to create a smooth, compact finish that sheds water.
- Curing and cleanup. The mortar is protected from drying too fast, and the brick face is cleaned.
As a rough estimate, many chimneys take one to three days, though project size, access and weather can change that timeline.
How Much Mortar Damage Is Too Much for Tuckpointing?
Tuckpointing works best when the bricks themselves are sound and the problem is limited to the joints. Minor deterioration looks like shallow cracks, small areas of recessed mortar or a few joints that have worn faster than the rest. These cases are good candidates for repair.
Things change when the damage spreads into the brick. If many bricks are spalling, crumbling or cracked through, new mortar will not hold them together for long. The same is true when sections of the stack have shifted, the chimney leans or large areas of brick are loose. In these cases, partial rebuilding of the damaged section may be needed before tuckpointing the rest. If most of the stack is compromised, a full rebuild may be the safer choice.
A good contractor will show you the damaged areas up close, ideally with photos, so you can see why they recommend one path over another. If you are weighing your options, this comparison of chimney rebuilding options can help.
Tuckpointing vs Rebuilding vs Sealing
Tuckpointing fits chimneys whose bricks are mostly solid and only the joints are worn. Rebuilding is needed when the structure itself has failed. Chimney waterproofing is only a protective coat. It will not fix open joints, so sealing over bad mortar can hide the problem for a season or two without solving it.
If one person recommends a rebuild and another says tuckpointing will do, ask each to point out the specific damage that justifies the advice.
How Much Does It Cost?
As a general U.S. estimate, chimney tuckpointing can cost around $500 to $2,500, depending on the amount of mortar damage, chimney height, accessibility and labor requirements. Projects involving scaffolding, extensive joint replacement or additional brick repairs may cost more. Decorative two color tuckpointing takes extra time and materials, so it usually costs more than basic repointing.
This is a national figure, not a confirmed local quote. Portland homeowners should compare written estimates from qualified local masonry contractors before choosing a repair. Compared with a rebuild, which can cost several times more, fixing joints early is often one of the more cost effective ways to protect your home. Delaying the work lets water damage spread, and that is when small repairs turn into big ones.
Can You Do It Yourself?
Small cosmetic fixes at ground level are possible for a handy homeowner. A chimney is different. Working on a roof is dangerous, and using the wrong mortar can permanently damage old brick. Mistakes like overfilling joints, smearing mortar across the brick face or using a mix that is too hard are difficult to undo. For anything above the roofline, hiring a licensed, insured mason is the safer choice. If you are planning the work, here is the best time for chimney repairs in our area.
Questions to Ask Before You Hire
- Are you licensed and insured, and what experience do you have with brick chimney repair?
- What mortar type will you use, and how will you match my brick?
- How deep will you grind out the old joints?
- Will you inspect the crown, cap and flashing as part of the job?
- Is there a written warranty on the workmanship?
- Can you share photos of similar completed projects?
Clear, confident answers are a good sign. Vague answers or pressure to decide on the spot are not.
How to Make Your Repair Last
How long tuckpointing lasts depends on workmanship, mortar compatibility, weather exposure and maintenance. With good care, it can serve a chimney for many years. Install a properly sized chimney cap to keep rain and animals out. Make sure the crown has no cracks and that flashing is sealed tight. Trim overhanging branches that keep brick damp, and book a yearly inspection, ideally in late summer or early fall before heating season starts. Do not paint brick, since paint can trap moisture and speed up deterioration. To learn more, read about brick chimney repair lifespan.
Final Thoughts
Now that you know what is chimney tuckpointing, you can spot early warning signs, ask smarter questions and avoid paying for the wrong repair. Healthy mortar helps keep your brick dry, your flue stable and your home protected. If you see cracks, crumbling joints or stains near your fireplace, do not wait for the next heavy rain to find out how serious it is. Call Portland Chimney Care for an inspection and honest advice on the right repair for your chimney.